Don’t Wait to Land: How to Shoot Better Travel Photos From Day One
All too often with travel photography, our heads are filled with the destination in mind. We’ll spend hours trawling through Instagram inspiration, checking Google map locations and planning our days to maximise what we get from the trip.
The night before travel day is spent charging batteries, preparing memory cards, tidying cables. The next day arrives. The gear bag is packed. The camera only comes out when you get there. Why? Why don’t we document the journey, as well as the destination?
Well, that’s how I used to be.
In this post I’ll show you why the airport is one of the most underrated photography locations on your trip, and give you 8 tips to make the most of it.
Always Have Your Camera With You
Recently I’ve started to have my camera on my person everywhere I go. There are multiple benefits to this (and I will likely write another post about its benefits), but mostly, it allows me to take more photos - and that’s the best way to continue improving.
I manage this by pairing my fairly compact mirrorless camera to the rather small 40mm prime lens.
It fits neatly into the 4L Sling which stays with me at all times - it also houses my passport, phone, cash etc. This sling can pack into my larger 20L camera bag as my personal item or small carry on. The sling also fits under a jumper or fleece to escape the prying eyes of the budget airline gate attendant.
Most people carry their camera gear onto the plane with them rather than checking it on, so whatever gear you have is fine - just make sure it’s easily accessible.
Airport Photography
Having your camera with you at all times, the destinations are no longer the only subjects. This brings me to Airports.
They can often be uninspiring places. They’re filled with thousands of anxious people, stressed and racing to get to where they need to be. You, yourself, may be one of these people, and if that’s true, I totally understand. When I’m tired and stressed, it might be the last thing I think of to get my camera out, but at least I have the chance.
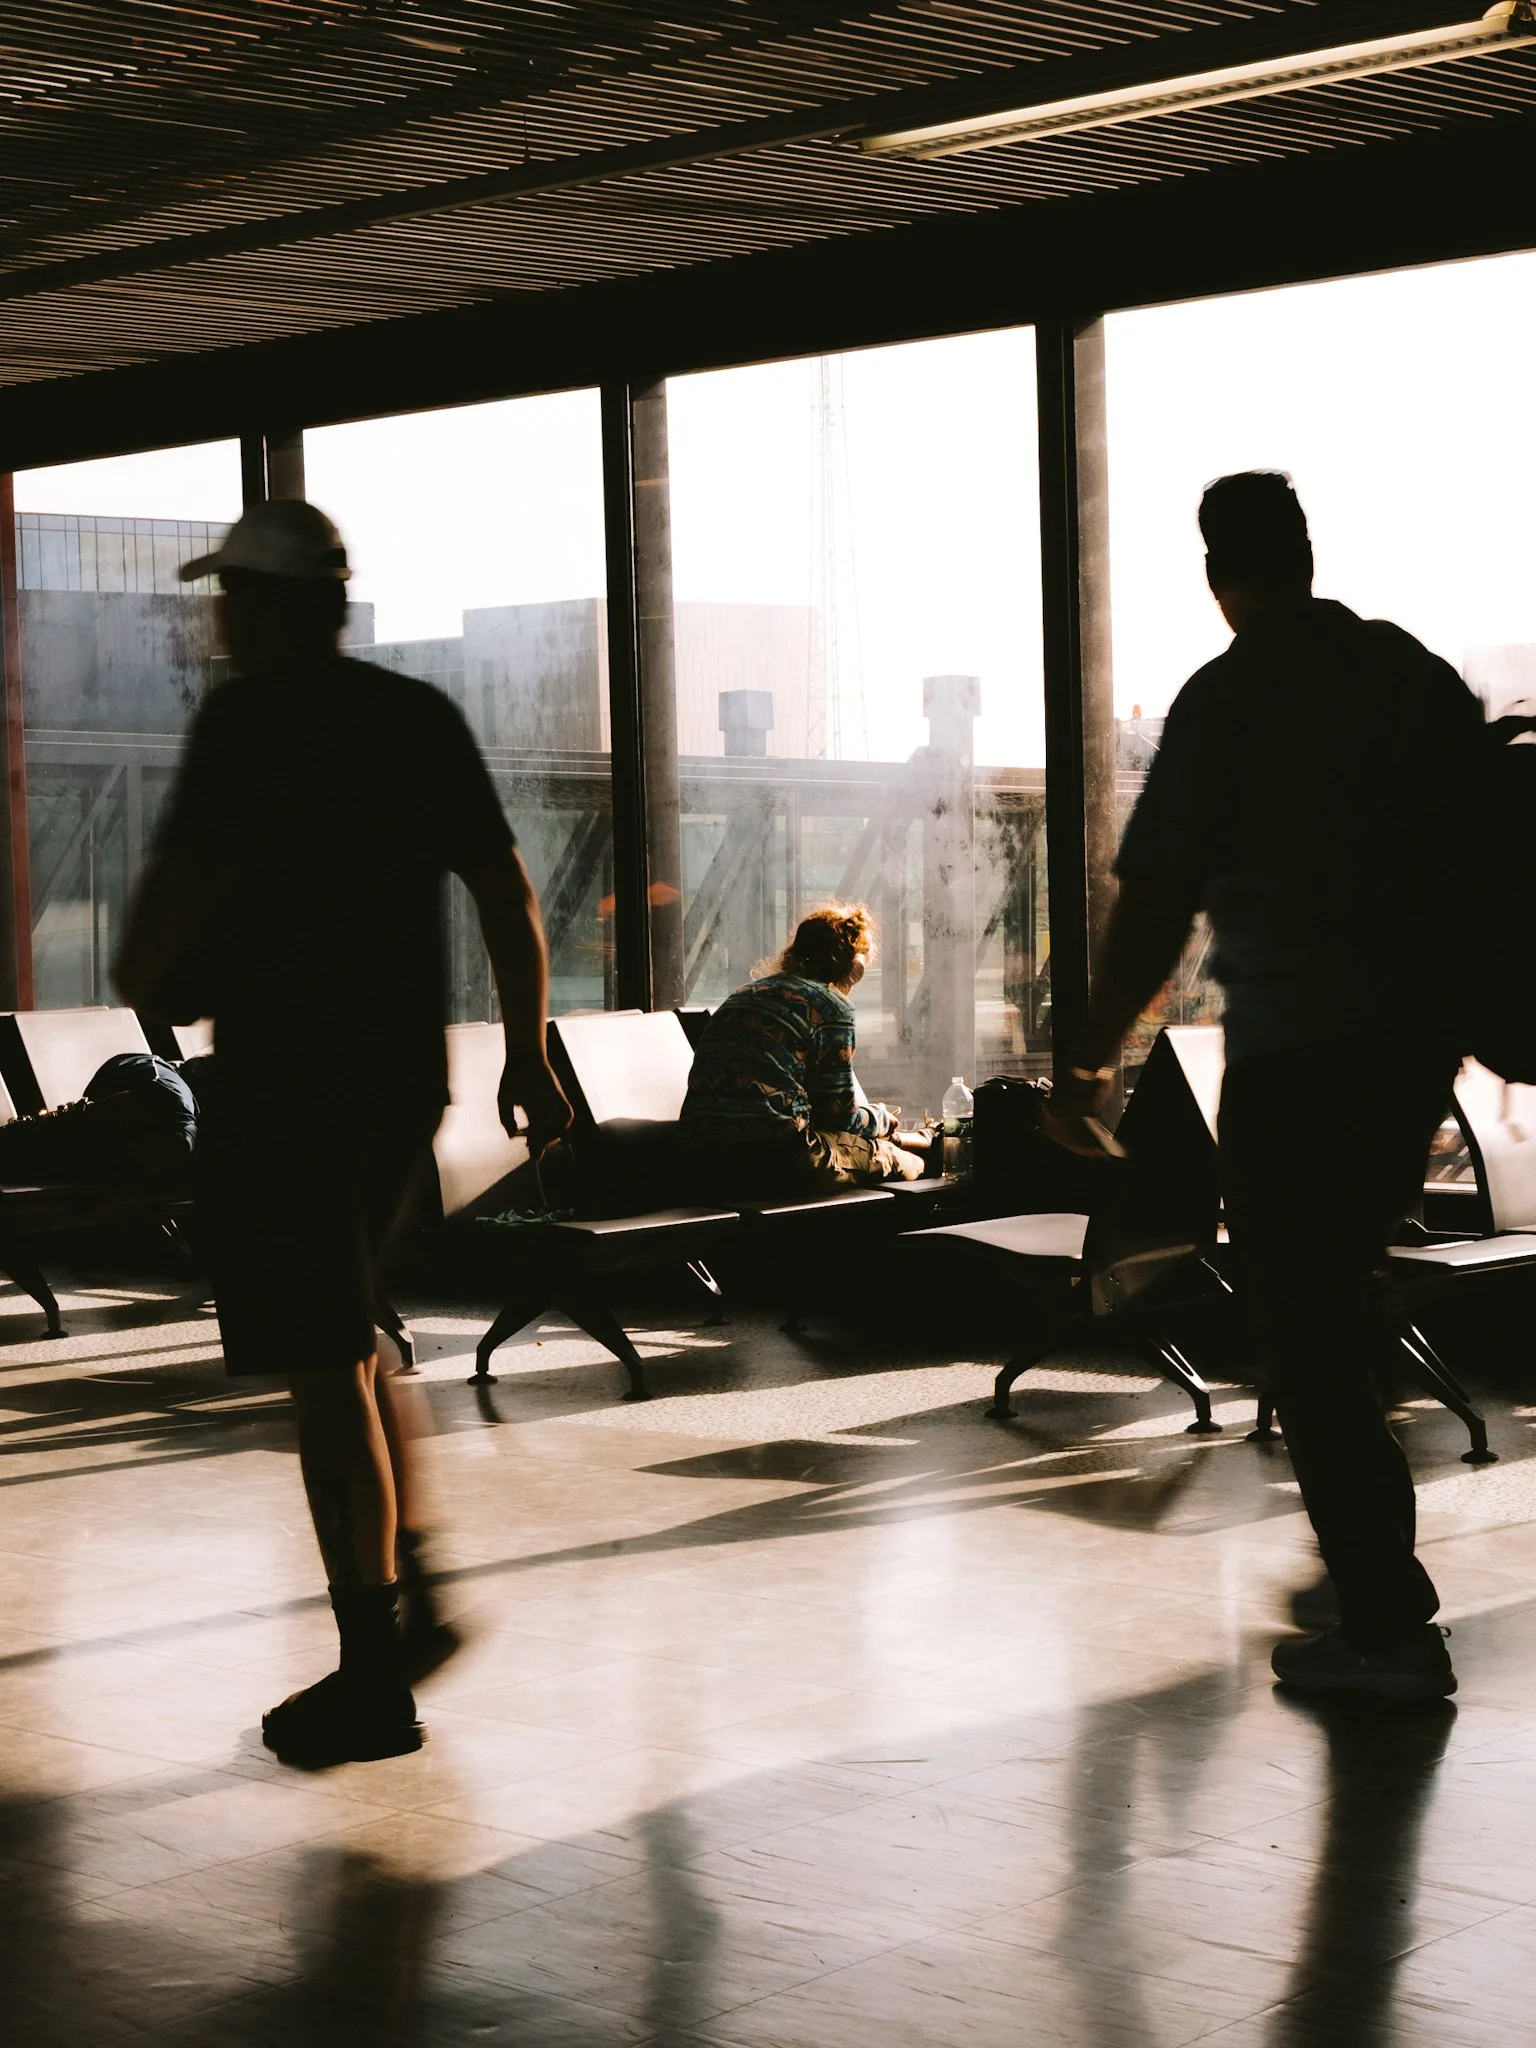
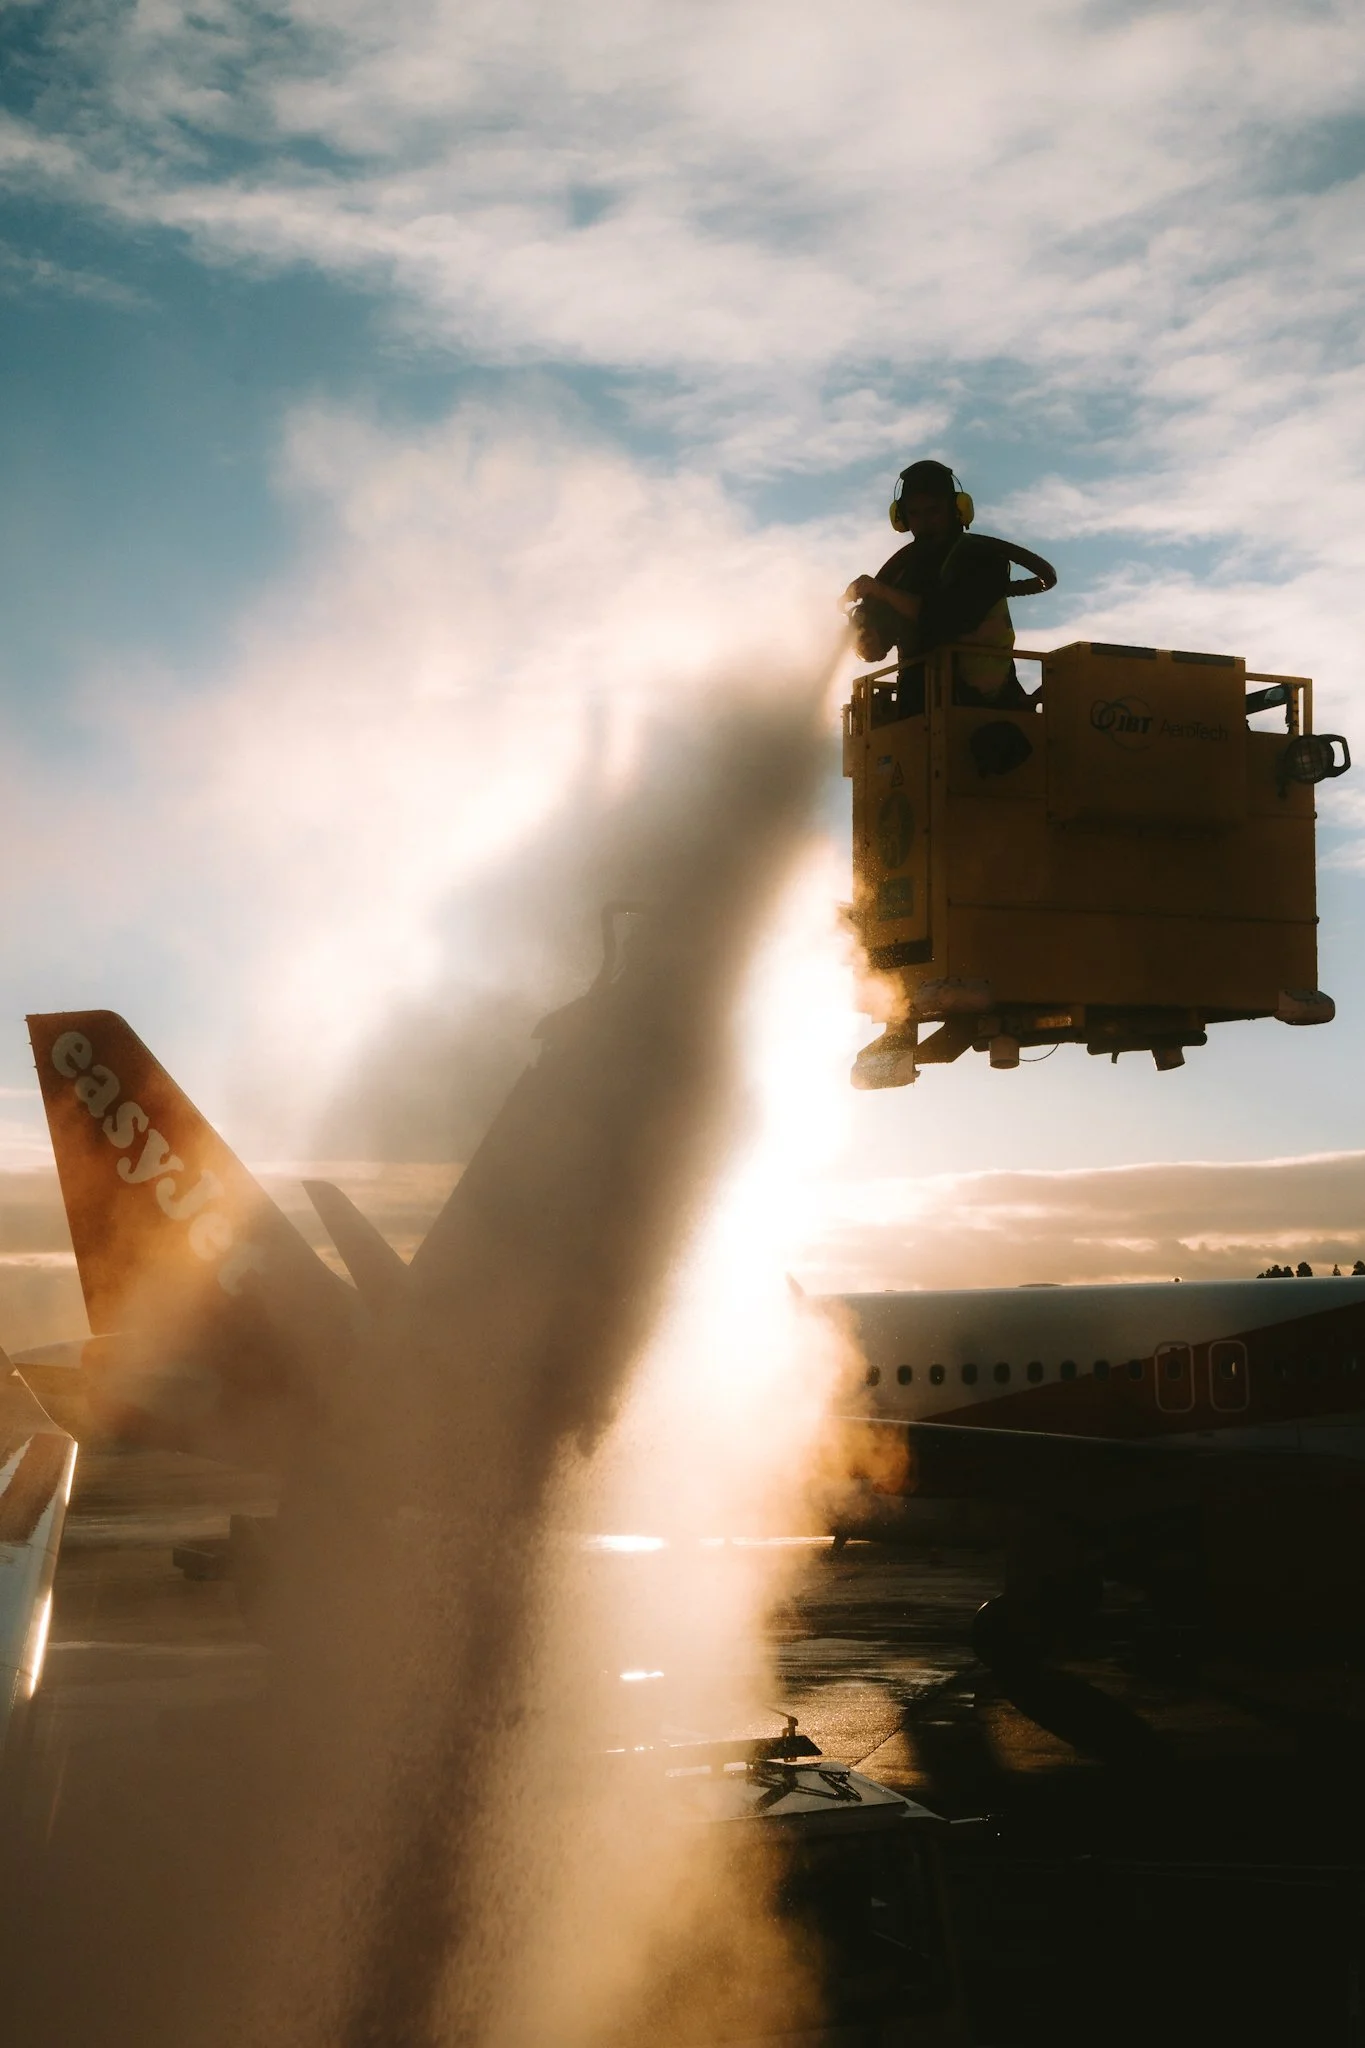
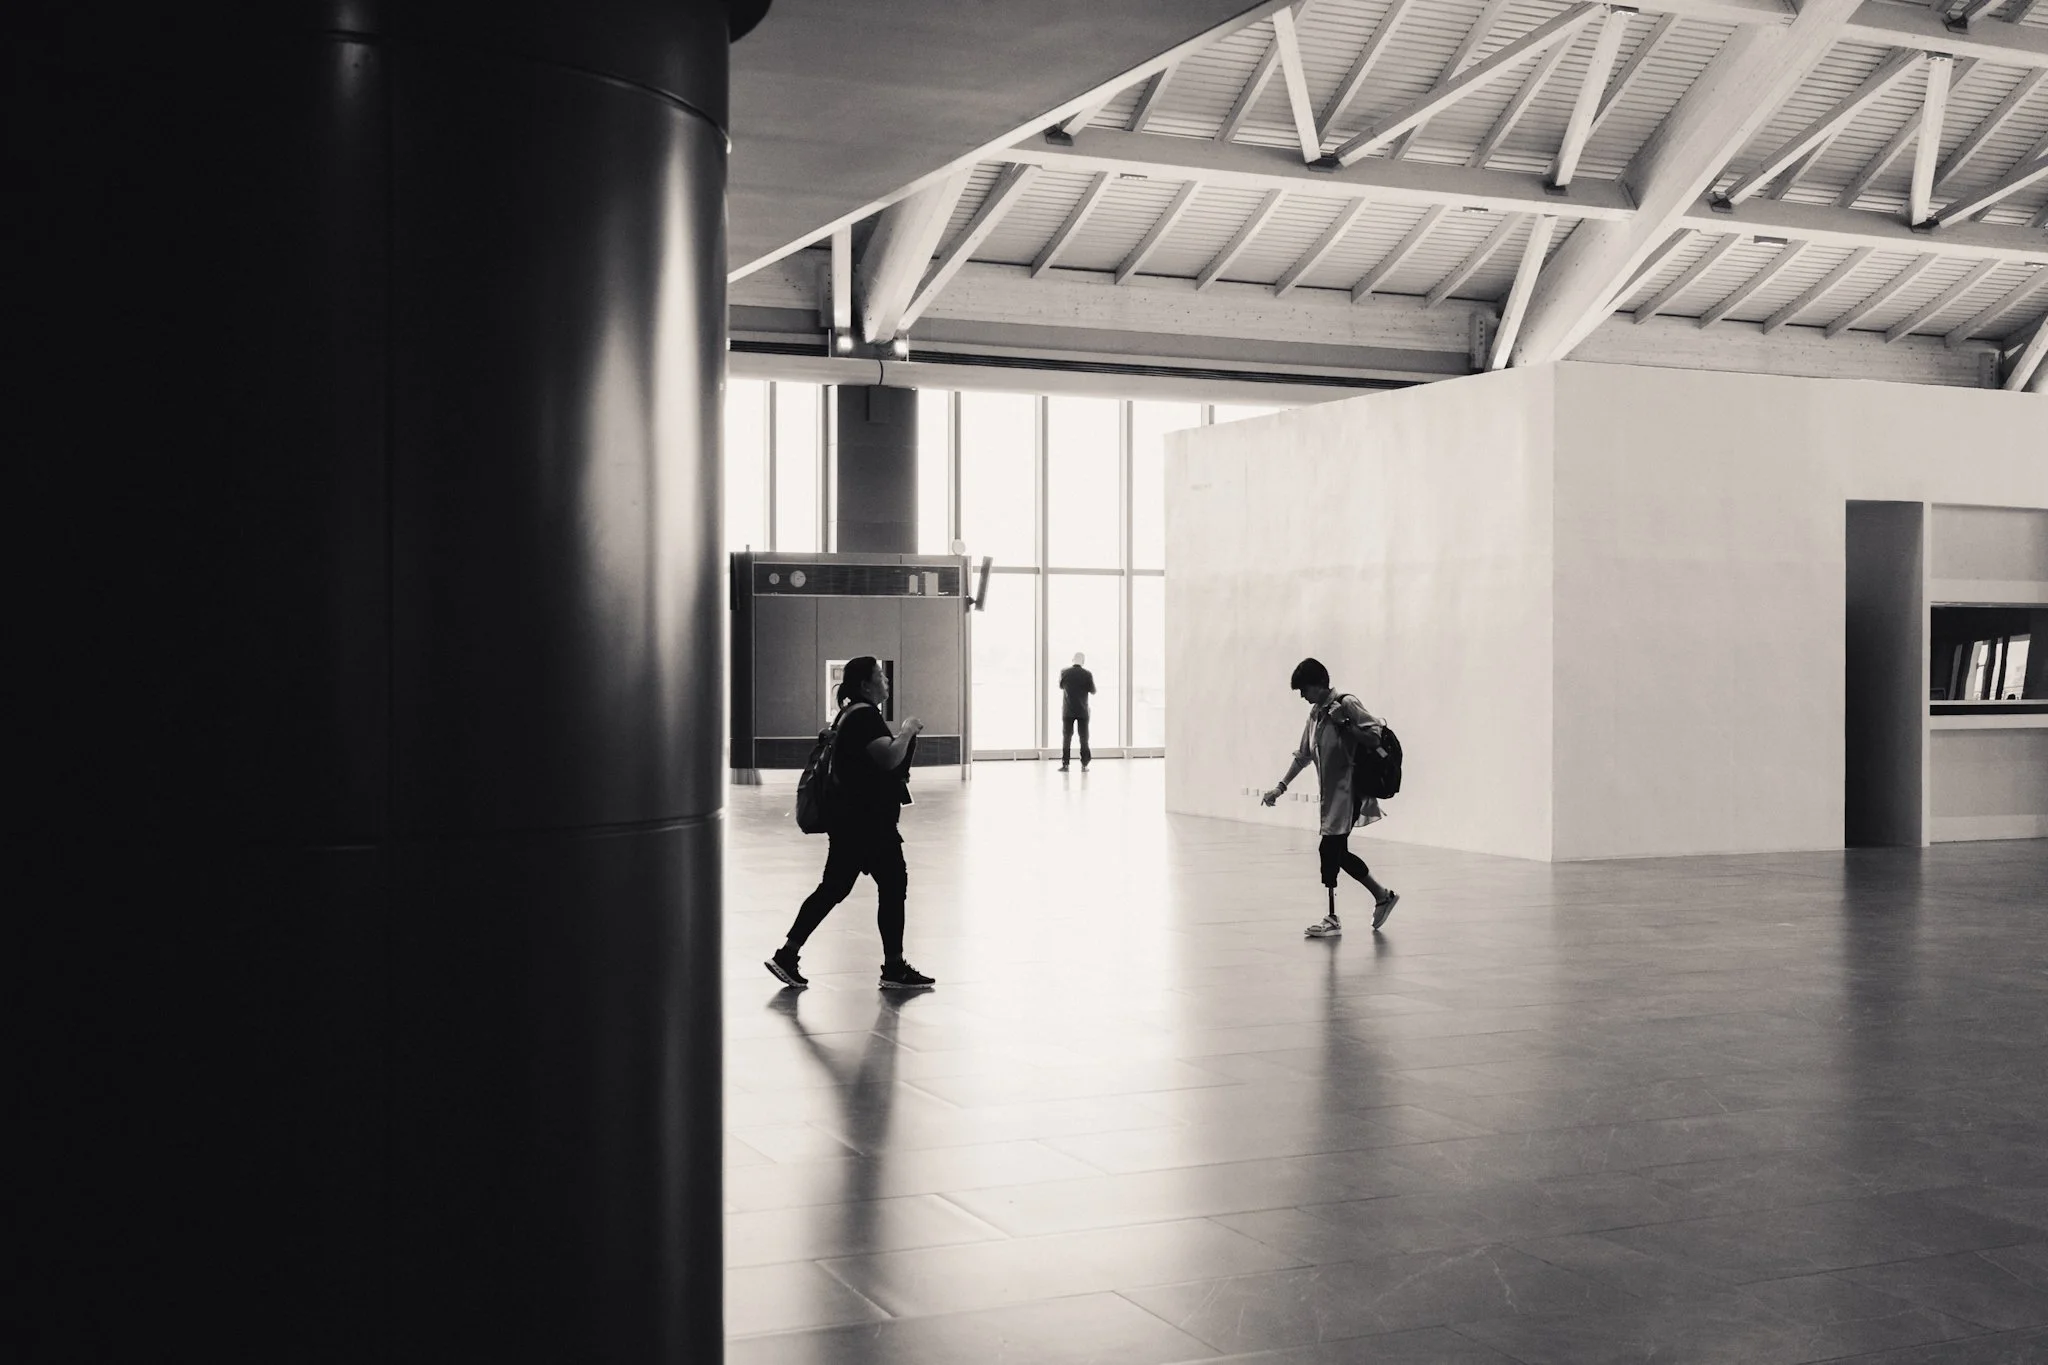
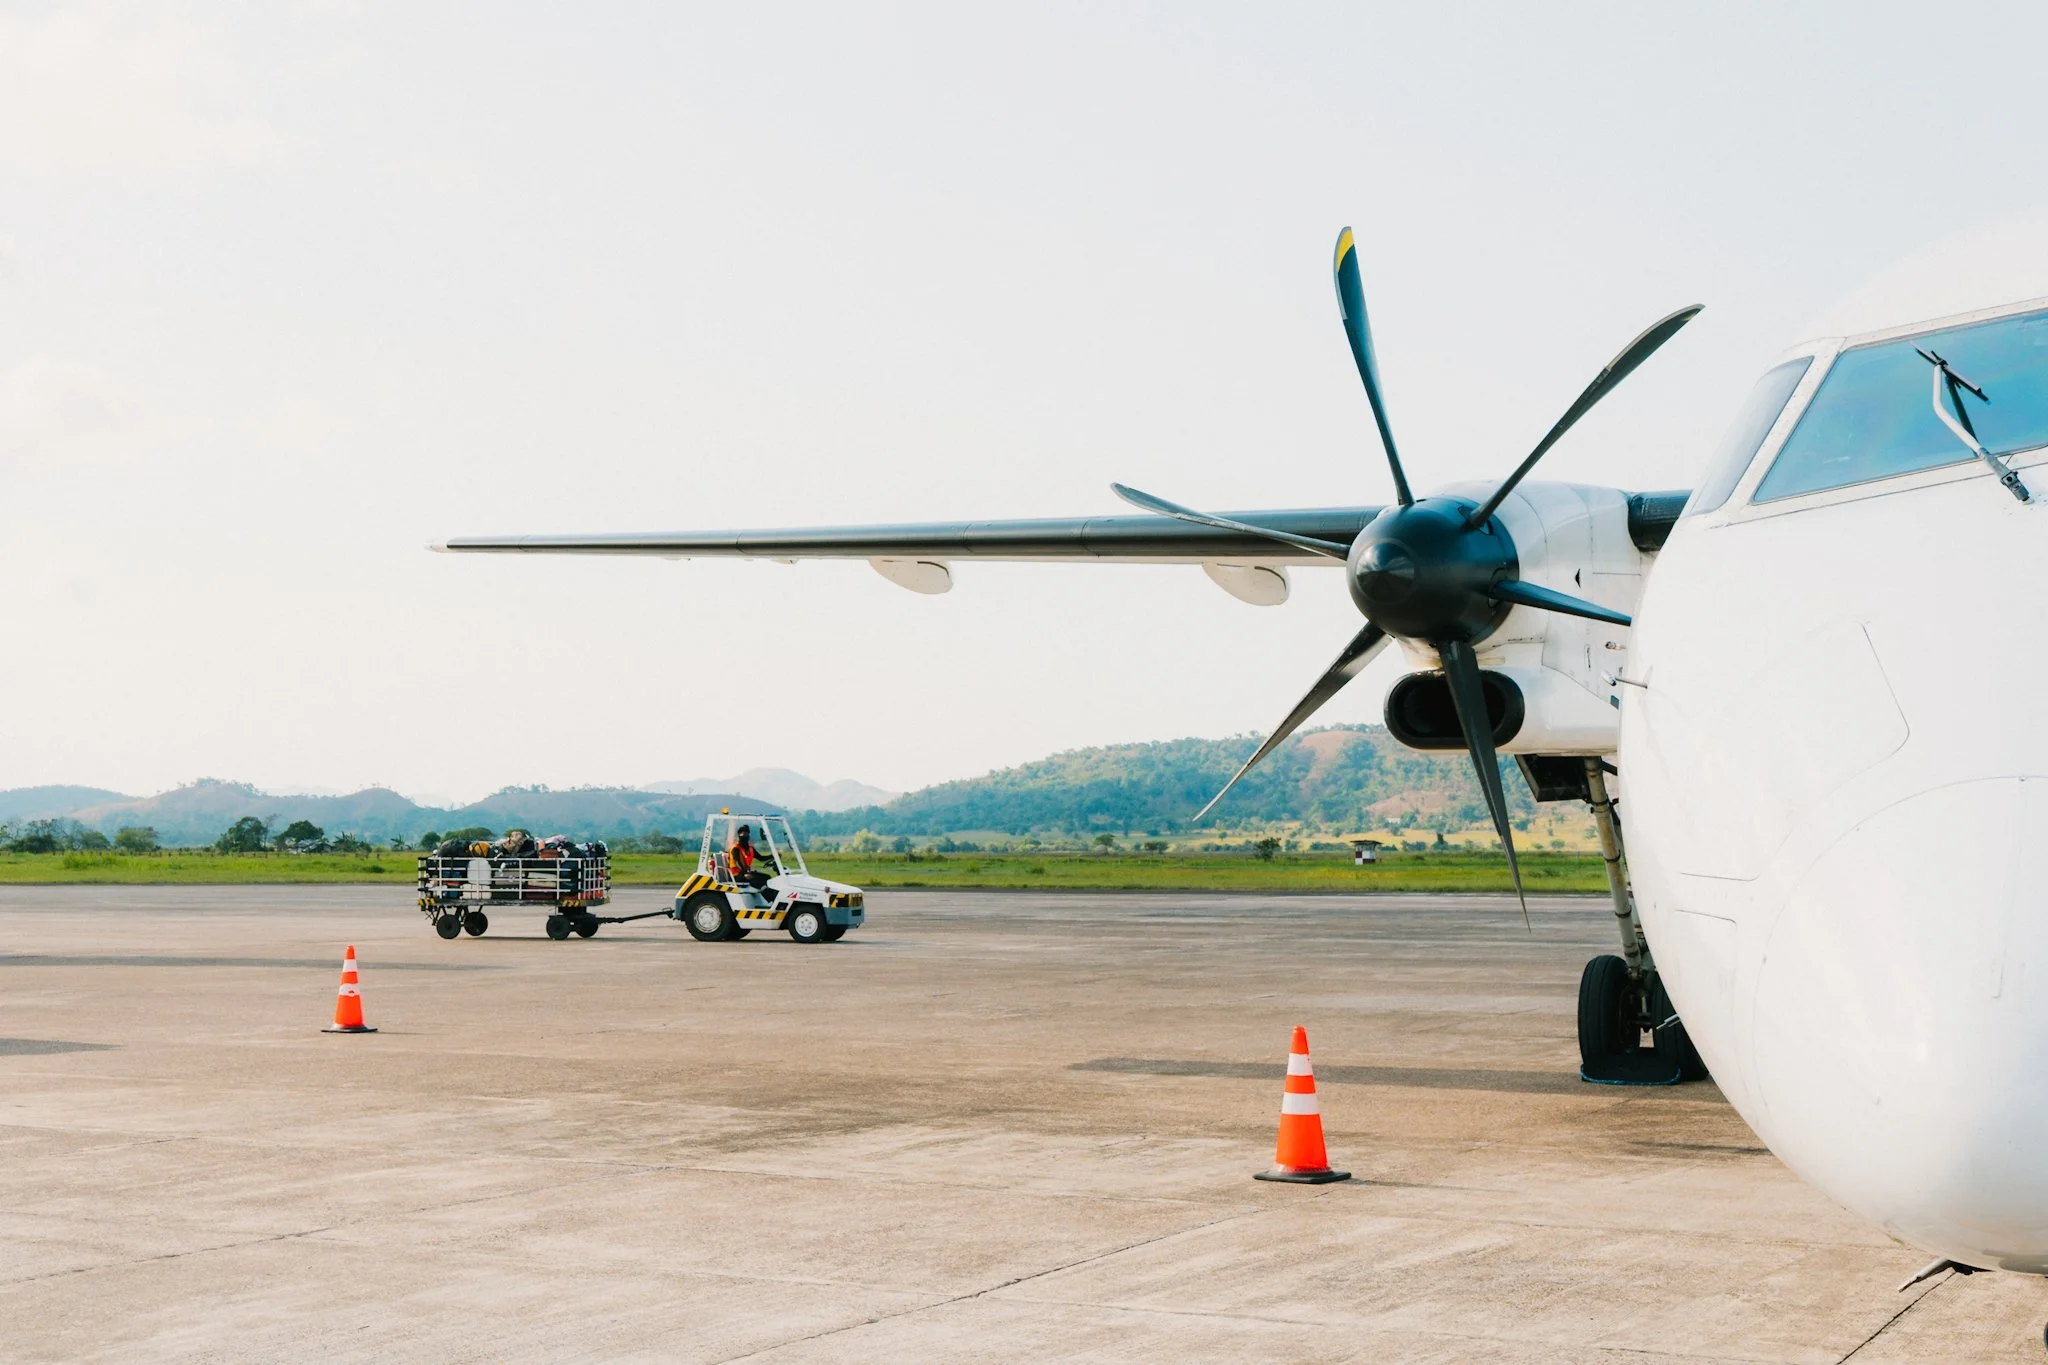
However, most just never stop to notice the light streaming through the vast glass walls, the steel geometrical structures, the lone person working underneath a huge aircraft, and of course the time-anxious characters zipping through the terminal to stand in a queue at their gate.
None of the above even takes into account that you’re often around early or late when you’re at an airport. What happens early or late in the day, all over the world? Lovely light, of course. Over the years I’ve lost count of the times I’ve noticed a pocket of light in an airport and wished I could stop for a photo.
Airports are also full of stories. People are coming and going, often in their own bubbles. Reunification. Hard workers. Excitement. Sadness.
Below are a few tips that will help tell these stories and capture important parts of your very own travel story.
8 tips to improve your airport photography:
Make your camera easily accessible and keep it inconspicuous. If you have a small camera body and a small prime, that’s enough. If you can only use your phone, do so.
Only shoot in places you’re allowed to - this is in arrivals, departures, the gates, the aeroplane itself, and so on. Clearly in security and at border control, it is not appropriate (or even legal) to take photos, so even if the best photo you’ve ever imagined opens up in front of you, don’t be daft. You can’t get them all - move on.
Be prepared to take quizzical looks and questions of “are you okay?” from airport staff. This has happened to me multiple times - usually a polite and smiling “I’m a photographer and the light is beautiful” will suffice. However, if you are asked not to take photos or you are arousing suspicion, then use your common sense.
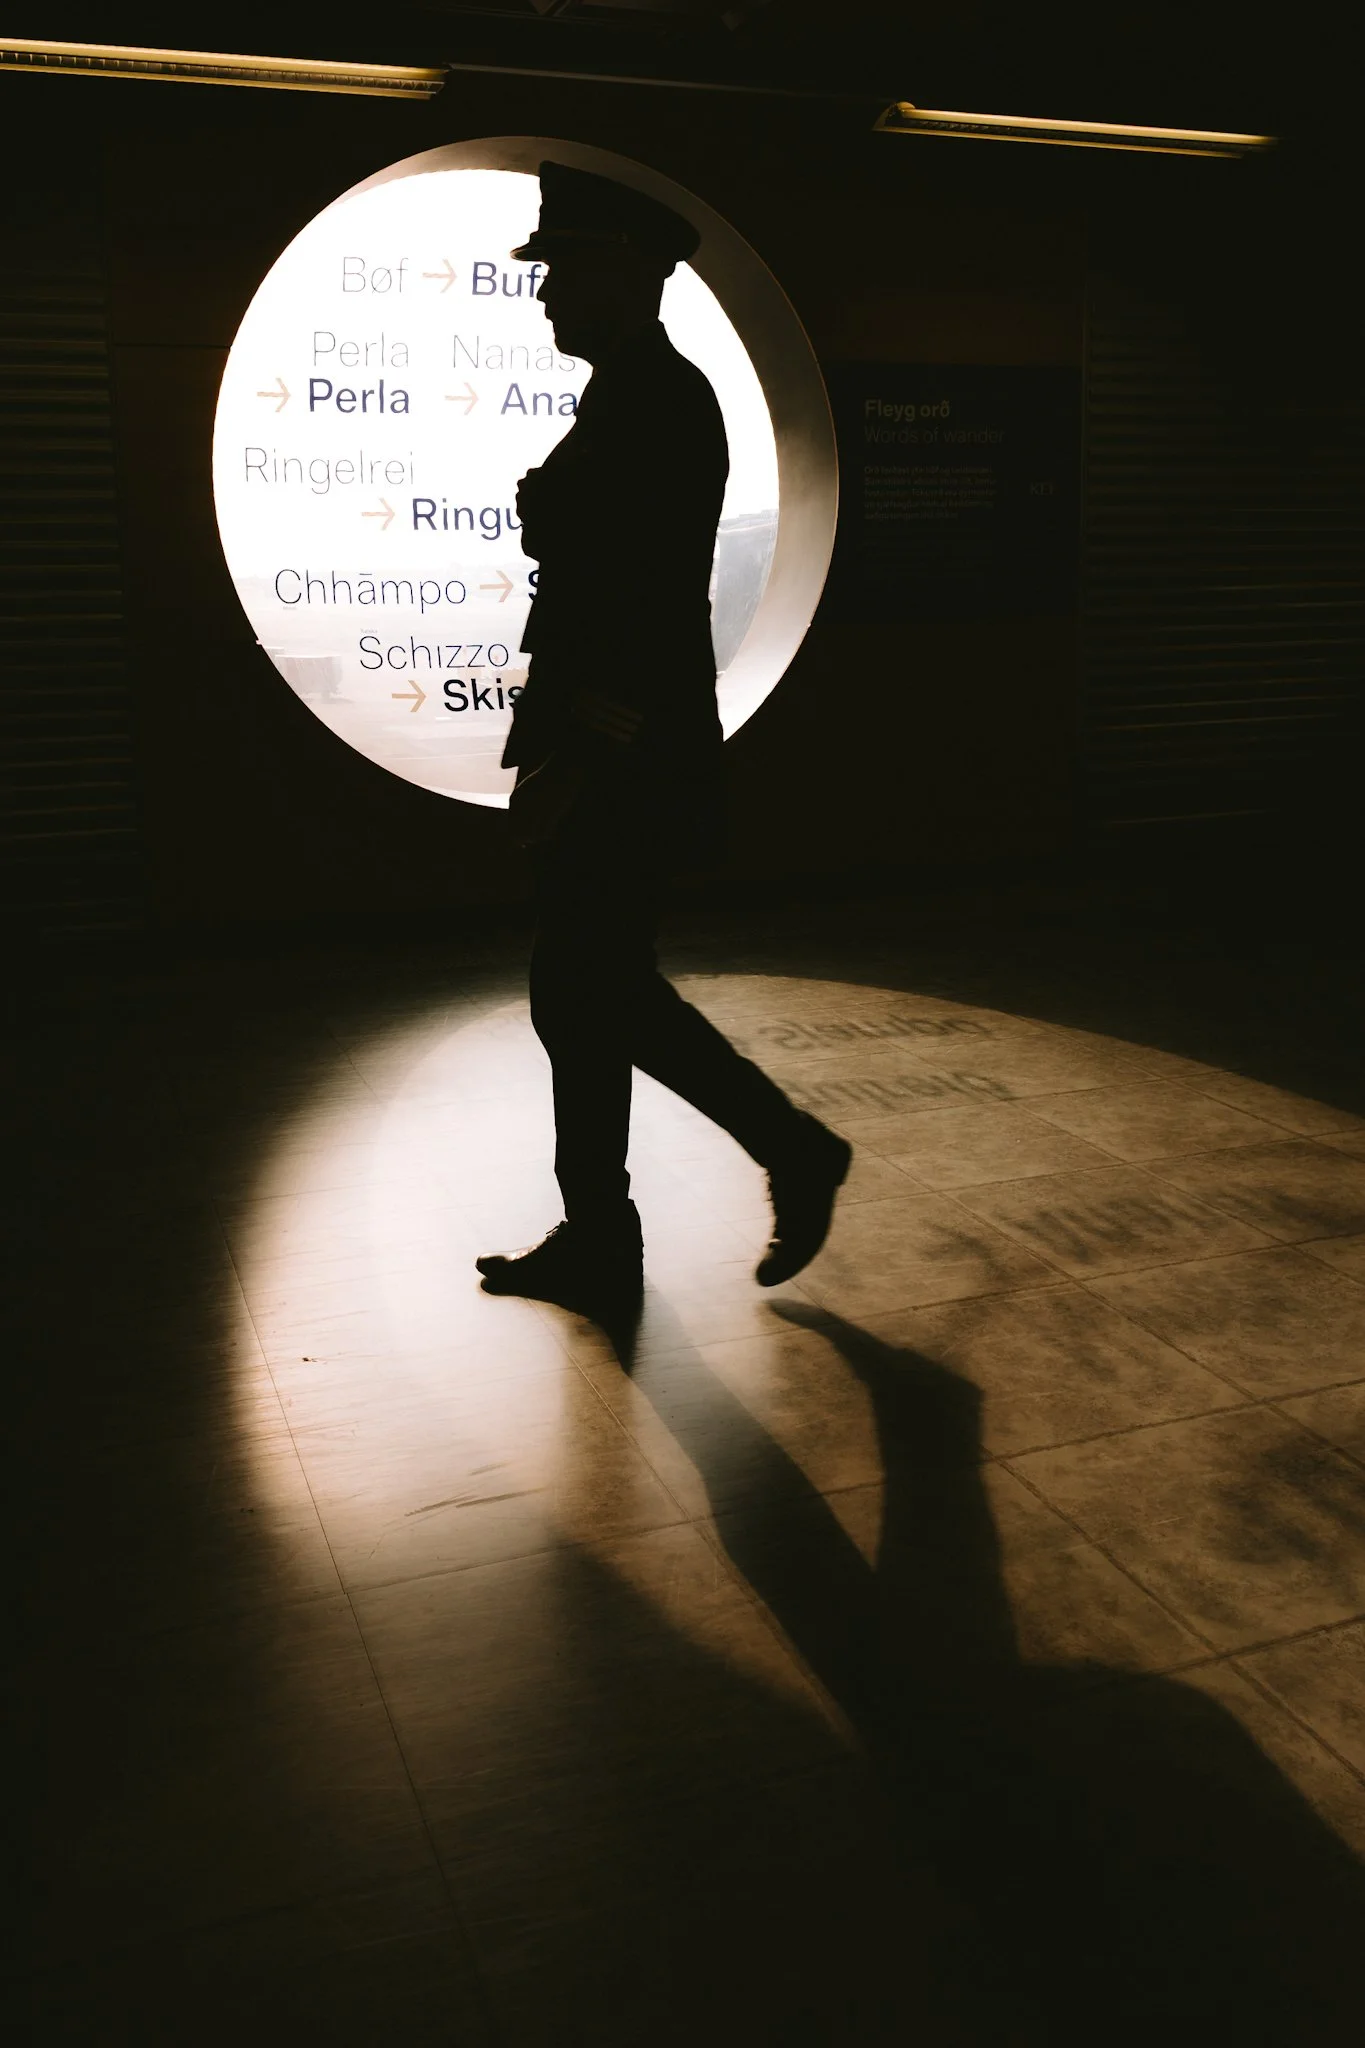
Silhouettes are your friend in airports. Backlit subjects are everywhere. Try to isolate an odd number (1, 3, 5 etc) of subjects against that beautiful light I talked about earlier.
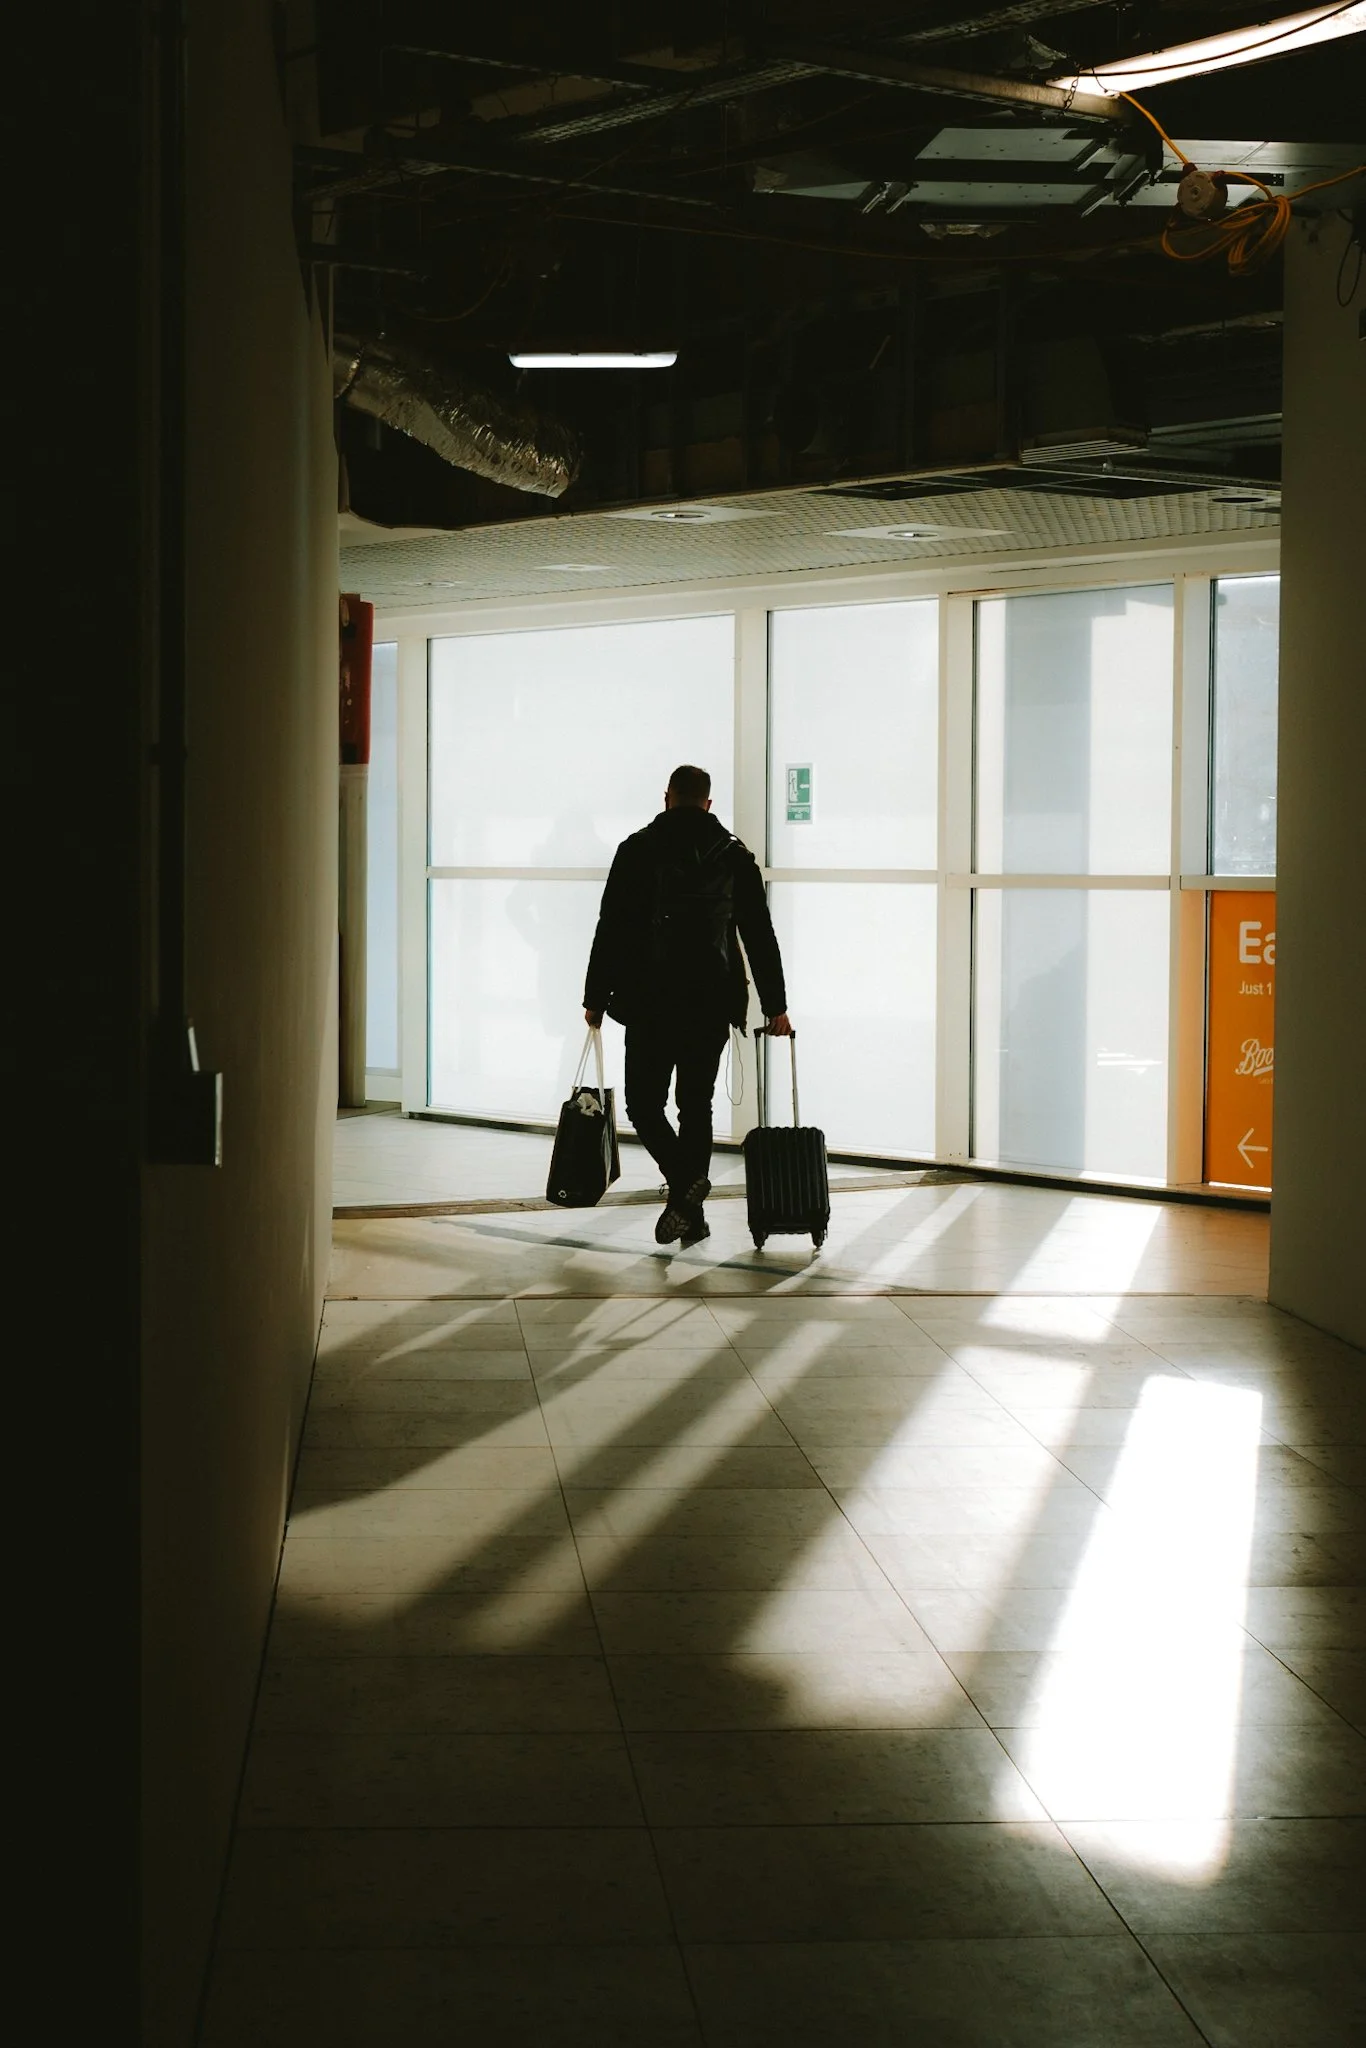
Try to make it clear you’re in an airport and tell the story - think silhouettes of pilots in hats, people rolling suitcases, ground workers under wings.
There are also lots of natural frames. Windows, doors, arches. We’ve all taken that picture of the wing with the clouds behind - take it and build it into the story of the day.
Document movement - airports are transitory places so movement is happening everywhere. Use slow shutter speeds (Shutter Priority mode set to 1/5th - 1/20th second) and panning techniques to show people whizzing past, escalators, shuttles, buses and obviously the planes themselves. This helps to break up the normal.
Airports are also a haven for leading line lovers - long moving walkways, luggage belts, plane wings - they’re everywhere. Use them as a compositional aid to lead you to a subject.
Next time you fly, give yourself a goal: come home with two airport shots you’re proud of and tag me in them on instagram (@dannyclarkephoto). Your next great travel photo might not be at the destination at all. It might be at 30,000 feet before you even get there.
…And it’s definitely better than sniffing 13 fragrances in duty free.
Cheers,
Danny.